Build a Practical Shot List for a Small Creator Shoot
A shot list turns a script into the material an editor needs. It is not a demand to film every possible angle. It is a plan for the images and sound that make the explanation understandable. This guide uses an original example of packing a day bag, with a simple list you can copy for demonstrations, desk tutorials or interviews. Adjust the plan to your location, permissions and equipment rather than treating camera complexity as a measure of quality.
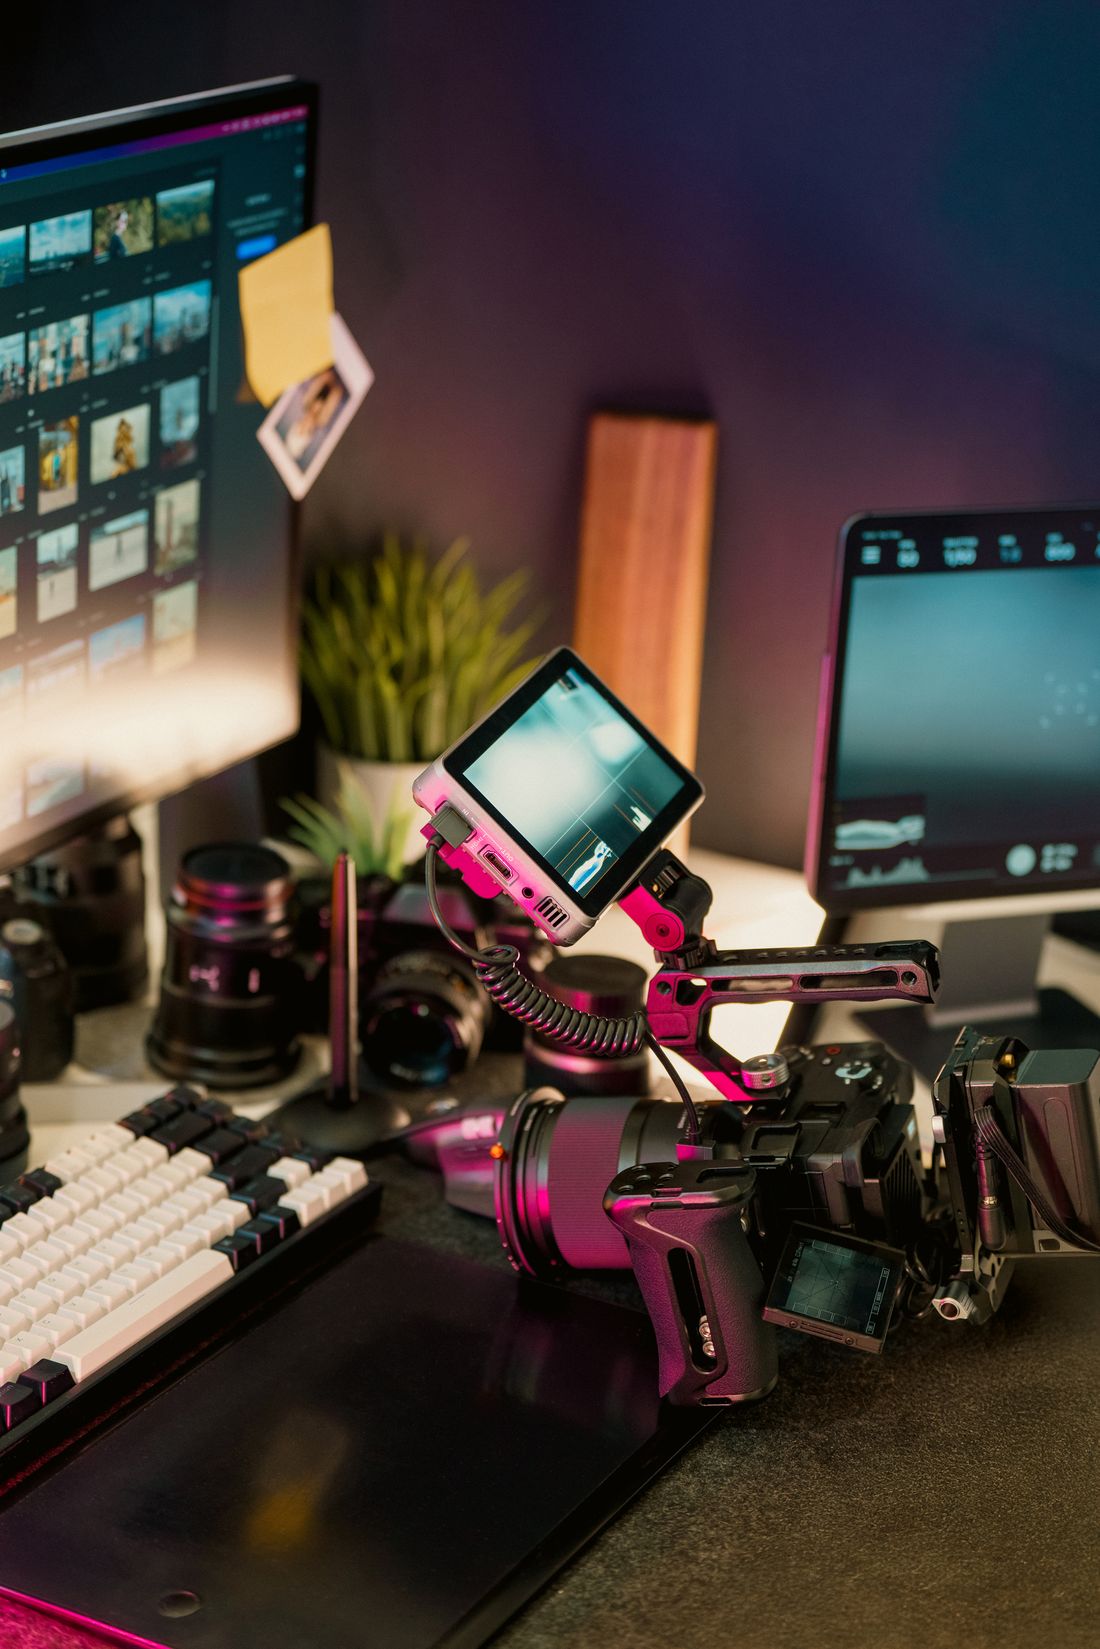
Photo: Jakub Zerdzicki · License. Illustrative stock photography.
Begin with the information each image carries
Read the script and underline every action, object or detail the viewer needs to see. For a packing video, those might be the empty bag, the items arranged beside it, the internal pocket and the final fit. Ask what a shot proves: a close-up of a zipped pocket may show where the small cable goes, while a decorative pan across a table may add atmosphere but no instruction. Separate essential coverage from optional images. This keeps a short shoot focused when time, daylight or access becomes limited.
Use fields that help you act on location
A useful shot row includes ID, purpose, framing, action, audio, props, continuity and status. Example: B03; show where keys go; close-up; place keys in internal pocket; spoken explanation recorded separately; bag and keys; keep bottle in right pocket; required. Add the corresponding script section so the editor can match footage later. A shot ID is more reliable than saying the good close-up when several clips look similar. Keep the list readable on the device or paper you will use during the shoot.
Group by setup without losing story order
You may film all overhead table shots together, then all presenter shots, even if the final story alternates between them. Keep the story order in a separate column. Track continuity: which items are inside the bag, where the label faces and whether a jacket is folded or rolled. Take a reference photo you own if that helps recreate a setup. Do not assume the editor can hide every inconsistency with a cut. Planning a few matching actions often saves more effort than filming large quantities of unrelated footage.
Plan sound and accessibility as real coverage
Mark where live sound is important, where narration explains the action and where room tone may help an edit. Record a short test and listen before committing to the whole sequence. If a crucial step is visual-only, add a narration line or a description task to the plan. W3C's media guidance includes considering audio and visual access needs during production. In a practical shot list, that means remembering to capture an unobstructed view and words that explain the relevant change, not only a visually attractive montage.
Include permissions and a realistic location check
Before filming, confirm that you may use the location and that anyone recognisable understands the intended use. Avoid unintentionally recording private screens, addresses, customer documents or copyrighted material as the main subject of a shot. Keep permission questions in the production log and resolve them before publication. A public-looking place does not automatically settle every recording or commercial-use issue. Keep the guide's generic shot plan separate from legal decisions, which depend on the location, participants, subject and planned distribution.
Log usable takes while the setup still exists
After each essential shot, check focus, framing and sound, then mark the usable take in the list. Watch enough playback to catch a missing action or obscured detail before moving the camera. Capture a clean version of the most important demonstration if you have time. At wrap, reconcile the required shots with the files and make an appropriate backup. A simple log saying B03, take two, keys clearly visible gives the editor a useful starting point and reduces the risk of discovering a missing teaching step after the location is unavailable.
Your working checklist
Checkmarks stay in this browser when storage is available. They do not submit a form or complete a booking.
Put it into practice
- Map each essential script action to a shot with a clear purpose. Separate instructional coverage from optional atmosphere so limited time goes to the most useful material.
- Add framing, action, sound and continuity fields, then group shots by setup. Preserve the intended story order in the list for editing reference.
- Check the location, participants and background for permission or privacy issues. Record a short sound and framing test before filming the full sequence.
- Review essential takes on location, mark usable files and confirm every required teaching step is covered. Back up the footage and send the log with the source material.
Before you finish
- Every essential image has an information purpose.
- Shot IDs connect footage to the relevant script section.
- Continuity notes track visible object positions and actions.
- Critical audio and visual details have been reviewed on location.
- Permissions and private background material are addressed before publication.
Common questions
Do I need a storyboard as well?
Use one when movement or composition is hard to explain in words. A straightforward demonstration may only need a shot table and a few simple reference sketches you create yourself.
How many angles should I record?
Enough to make the action clear and give the edit sensible coverage. Additional angles are useful when they reveal something; they are not automatically an improvement.
Can stock footage replace a missing demonstration?
Only if it accurately represents the point and you have the necessary permission. Do not use generic footage to imply you performed a test or showed a step that never happened.