Write a Clear YouTube Explainer Script from One Useful Question
A useful explainer starts with a question the viewer can recognise and ends with an answer they can use. You do not need an elaborate introduction or a promise that the video will change everything. You need an understandable sequence, evidence for factual claims and a plan for what the viewer sees while you speak. The copyable examples in this guide are original and use a simple desk-cable organisation demonstration rather than a product endorsement.
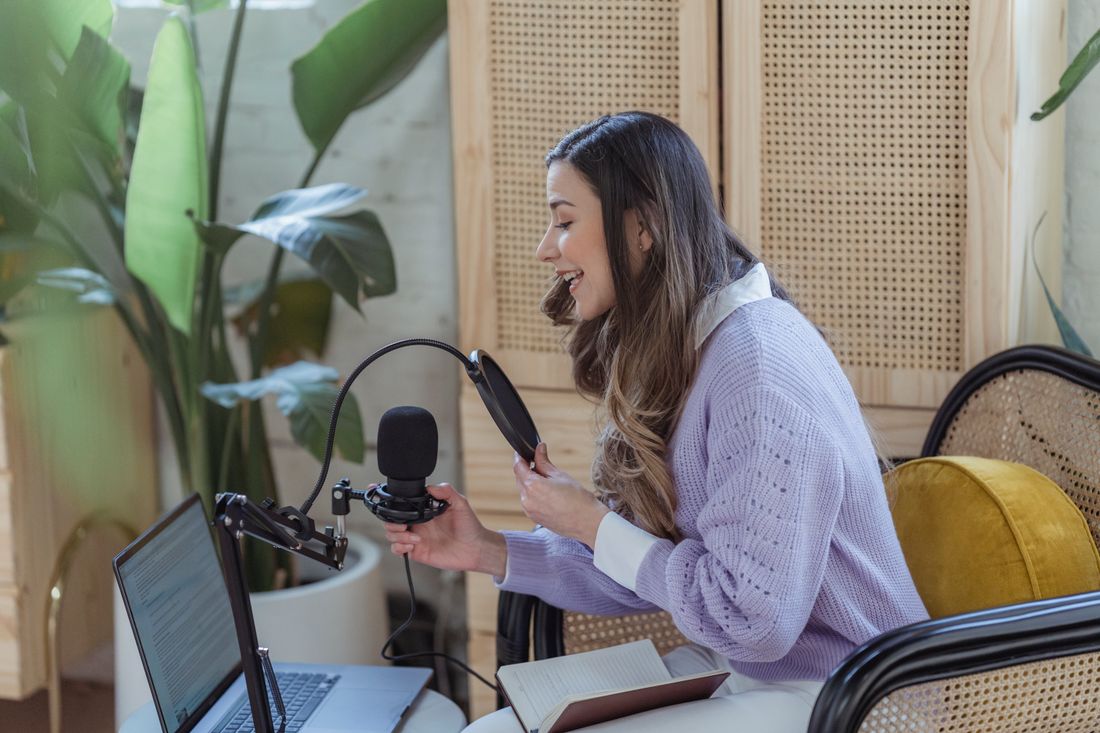
Photo: George Milton · License. Illustrative stock photography.
Define the question and the finished understanding
Write one sentence beginning after watching, the viewer can. For example: after watching, the viewer can label three desk cables and route them without blocking the socket switch. That statement limits the script more effectively than a broad topic such as desk setup. List what the viewer probably already knows and which terms need explaining. Remove unrelated buying advice, decorative room tours and unsupported productivity claims. A focused video can still be detailed; the detail should help someone understand the particular task rather than create the appearance of completeness.
Open with the problem and a real preview
An original opening could be: These three identical cables disappear behind my desk. I will label them, leave enough slack and show the finished route before plugging everything back in. Show the actual problem and the final arrangement you genuinely made. Do not fake a failure or promise a result absent from the video. YouTube's official title guidance emphasises accuracy; the same principle is useful for the opening. A viewer should be able to connect the title, first scene and demonstration without a long explanation of why the video exists.
Use a two-column working script
Create columns for spoken words and visual evidence. Example: spoken: I label both ends before moving the cable; visual: close-up of the two matching labels. Add separate notes for props, sound and any fact needing verification. This makes it obvious when a sentence has no supporting image or when an important action is only visible. Keep production notes out of the final narration. Read the words aloud while imagining the screen; phrases that look elegant on a page may be awkward to say or too dense to follow.
Build each teaching beat around a decision
A practical sequence is identify, demonstrate, explain the reason and show a common mistake. For cable labels, explain how the label remains readable after routing instead of simply saying organise neatly. Show a second option if the first depends on unavailable materials. Keep examples proportionate and avoid technical safety instructions outside your expertise. If a step involves a real electrical concern, defer to the relevant equipment guidance and do not demonstrate unsafe modifications. A clear limit is more valuable than pretending every household situation fits the same procedure.
Write accessibility into the narration
Describe important visual changes naturally: the label is on the cable near the connector, rather than just here. Leave enough time for the demonstration and for captions to be read. W3C recommends planning accessible media early; in this workflow, that means identifying visual-only information while writing, before filming makes it expensive to fix. Keep a clean final script as the starting point for a transcript, then update it to match what was actually recorded. Avoid describing your script as a complete accessibility solution without reviewing the finished media.
Close with the answer and the next useful action
Return to the opening question and show the finished result without repeating the entire video. An original close could be: Each cable now has a matching label at both ends, the switch is visible and the desk can move without pulling a connector. Start by identifying one cable in your own setup. Remove unnecessary requests to like, subscribe, comment and visit several links in one breath. After publication, review genuine viewer questions to see which explanation needs improvement; do not invent a retention result or guarantee a view count from the script formula.
Your working checklist
Checkmarks stay in this browser when storage is available. They do not submit a form or complete a booking.
Put it into practice
- Write the viewer's question and the specific understanding they should leave with. Limit the script to decisions that help answer it and list the facts requiring verification.
- Draft an honest opening with the real problem and a visible preview. Map each spoken teaching beat to a demonstration, example or clearly identified source.
- Read the script aloud and revise awkward sentences. Describe essential visual information, allow space for captions and remove claims that the demonstration cannot support.
- Record and review against the script, then update the transcript to the actual words. Check that the close answers the original question and gives one practical next action.
Before you finish
- The opening, title and actual demonstration describe the same task.
- Important claims have evidence rather than confident filler.
- Each teaching beat includes a concrete decision or example.
- Essential visual information is understandable through narration or description.
- No formula is claimed to guarantee reach or audience retention.
Common questions
Should I write every spoken word?
Use the level of detail that helps your delivery. A full script can improve clarity, while an outline may sound more natural for an experienced presenter. Preserve the planned teaching sequence either way.
How long should an explainer be?
Long enough to answer the question with useful examples and necessary limits. Time your own read-through rather than adding filler to reach a target duration.
Can I use a competitor's script as a template?
You can learn from broad structures, but write original wording, examples and explanations. Do not copy their expression, distinctive sequence of jokes or footage.